
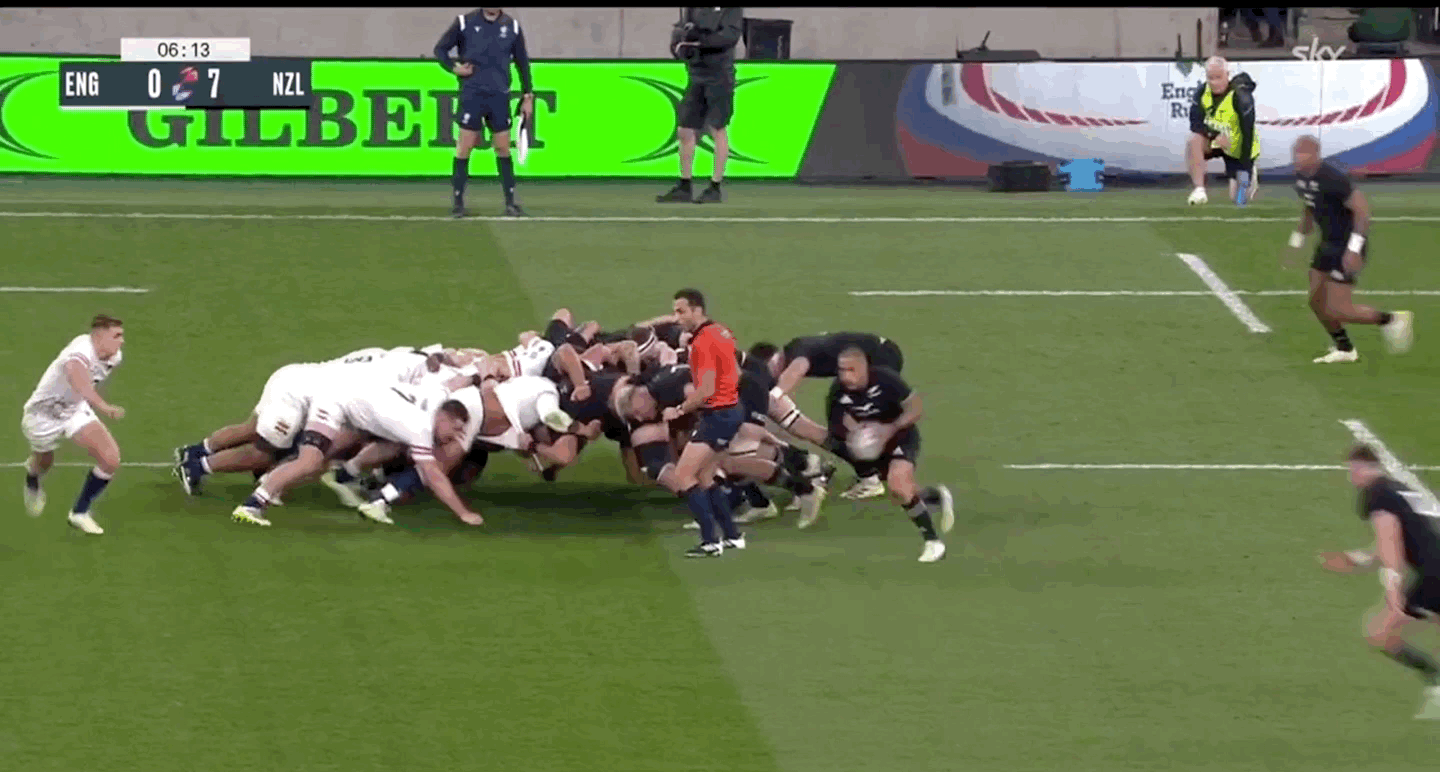
New Zealand will enter the 2023 World Cup in an unfamiliar position. At every edition of the World Cup since 2007 the Kiwis have been world number 1. This time however they will be underdogs in France. They haven’t reached the heights of previous years but still possess a world leading attack as well as being superb on both sides of the driving maul. So today we dig deep into how New Zealand will look to shock the World.
Attacking the All Black Way
When we are examining a team’s attack we can use their pass data to see each team’s playmakers. Looking at the New Zealand attack radar below we can see how their use of the Full back stands out against the rest of professional rugby. The main advantage of this second playmaker system for the Kiwis is their ability to split the field and threaten both sides of the breakdown.

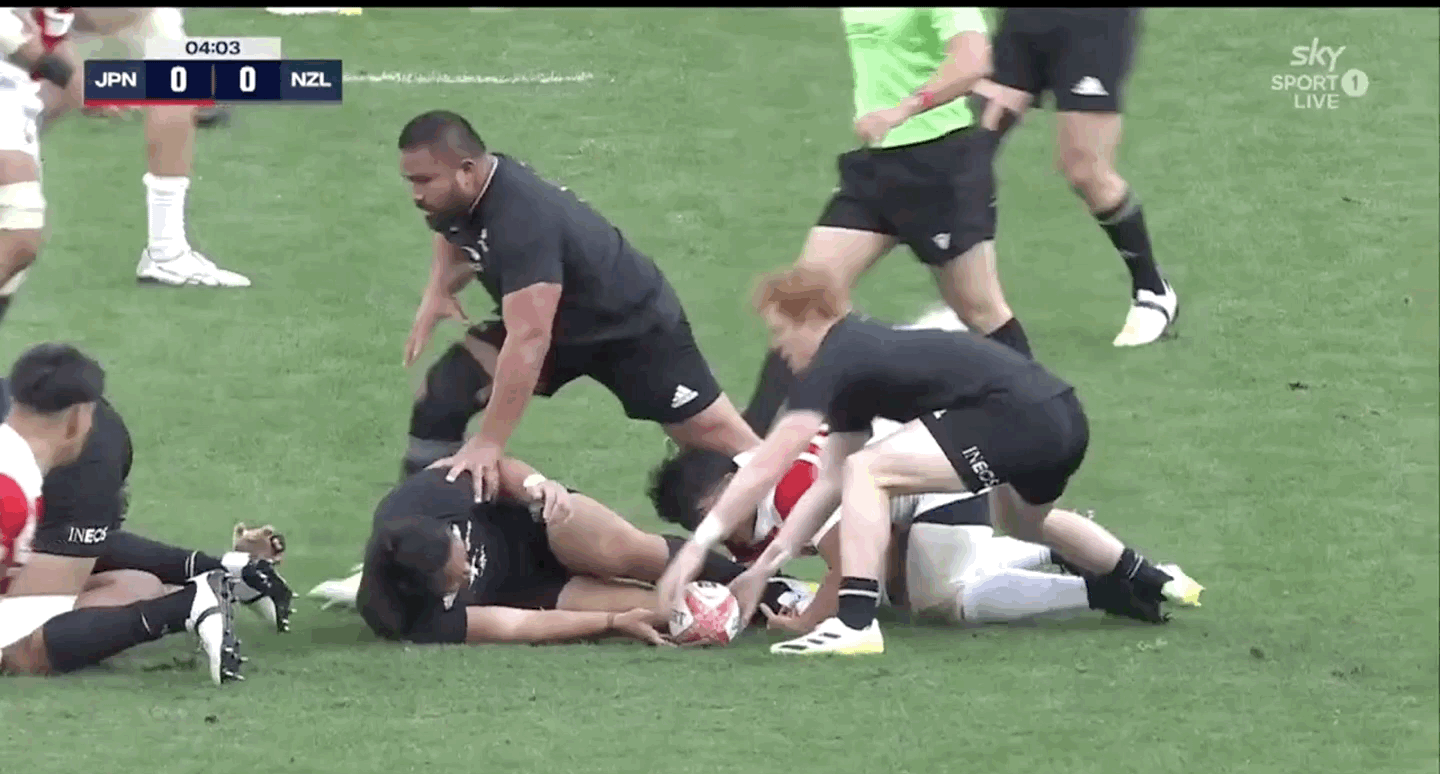
A strong blindside attack has proved a key for New Zealand over recent years, take this clip from their game v Japan. A hit up from Caleb Clarke on kick return splits the field and gives New Zealand a large blindside to work with. The play is sluggish and results in a turnover but shows the intent to reload quickly and have a two sided attack.
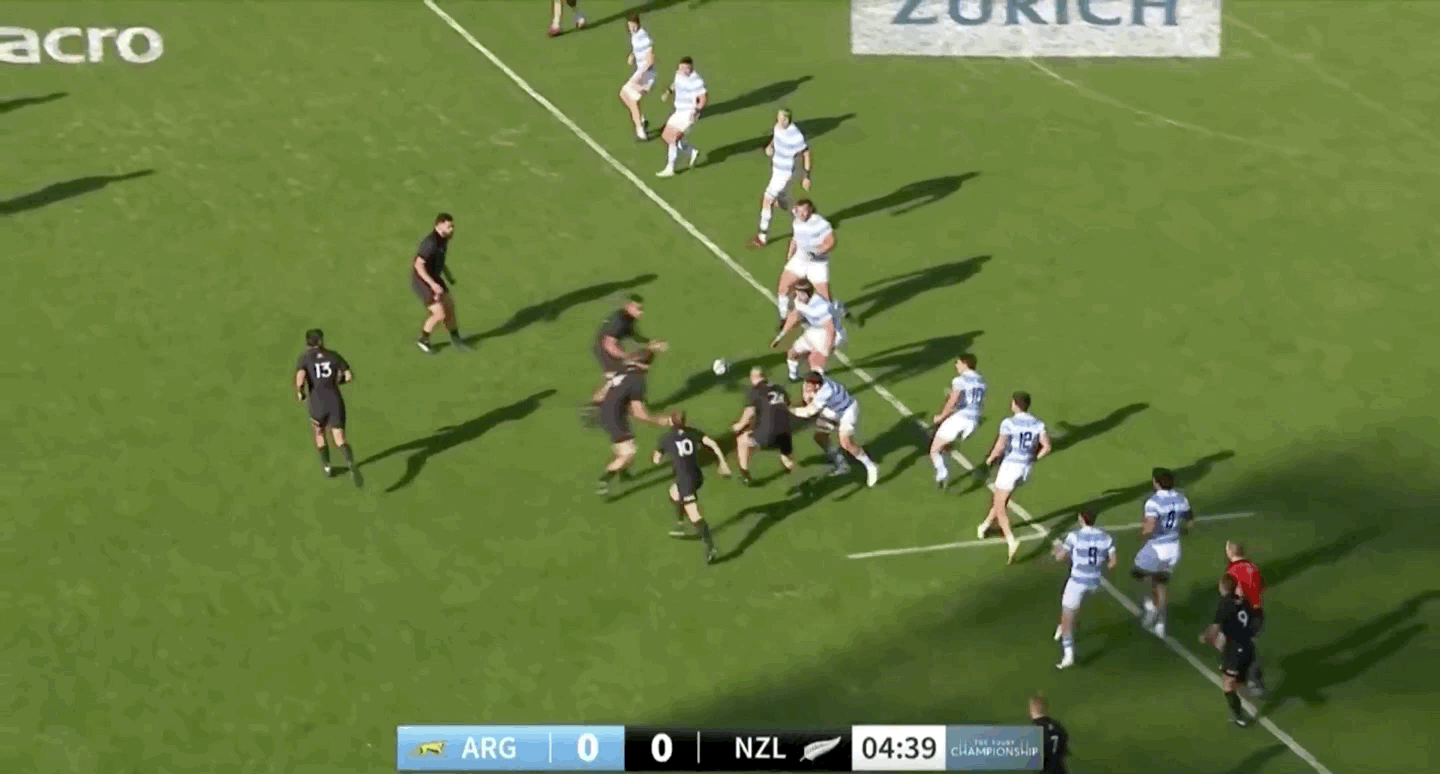
It was no different against the Pumas last weekend. The clip below shows how work rate underpinned their blindside attack with a cluster of blackshirts reloading to stretch to the Argentina defence. The pass from Smith is crisp for Beauden Barrett who then fires a flat pass direct to Narawa. Narawa beats the first tackler putting New Zealand on the front foot.
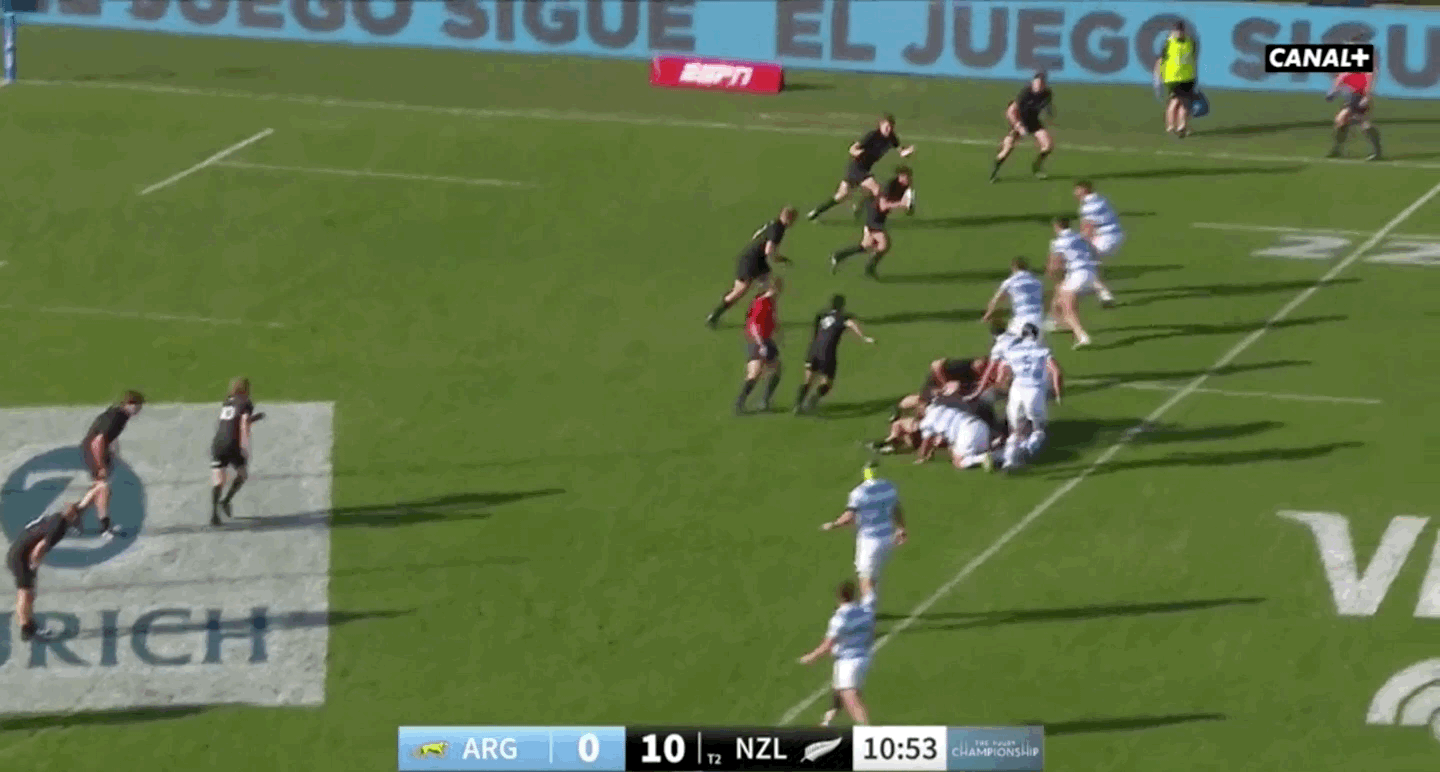
Their short side attack was also key for the 3rd try last weekend. Jordie Barret, Caleb Clarke and Beauden Barrett all reload to the short side and hold their width. Some quick hands and they are away with the three players then all flooding through post-break meaning that Jordie Barrett can run it over the white wash.
Their blindside attack enabled the All Blacks to change their point of attack. This ability to strike across the field was also underpinned by a strong cross kick game. The All Blacks make 1.11 cross kicks per game, the most in Tier 1 rugby.
Take for example this from their game versus Scotland last Autumn. The All Blacks are rampaging having made a break down the left wing. Scotland give away a penalty at the ruck trying to stop their momentum but this doesn’t stop a lovely score.
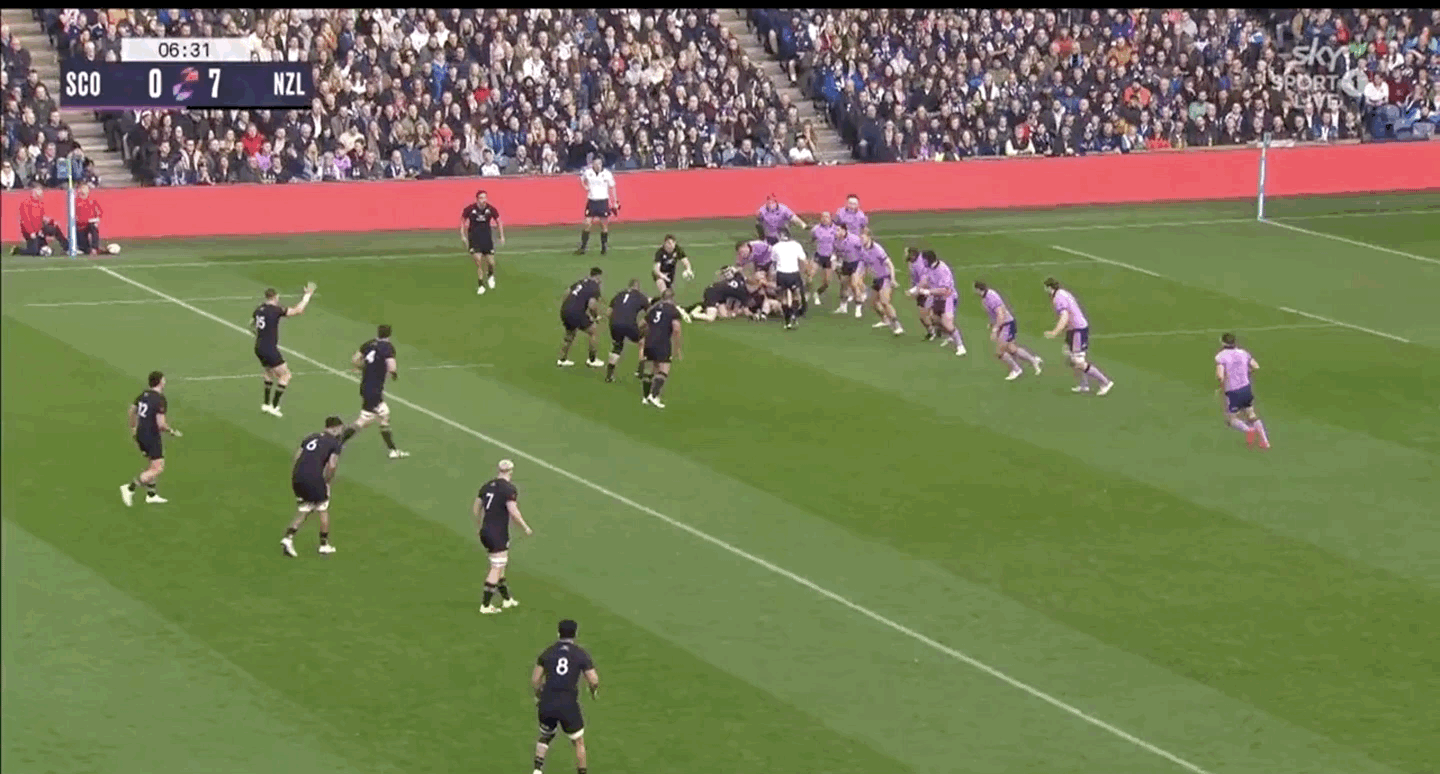
The set up for the kick is slightly disjointed with the Kiwis hitting a forward pod first before Jordie Barret finally gets the ball in his hands. Barret turns immediately to find Telea and pointing his hips towards the target kicks a low kick into the expanse of the Scotland backfield for their second try.
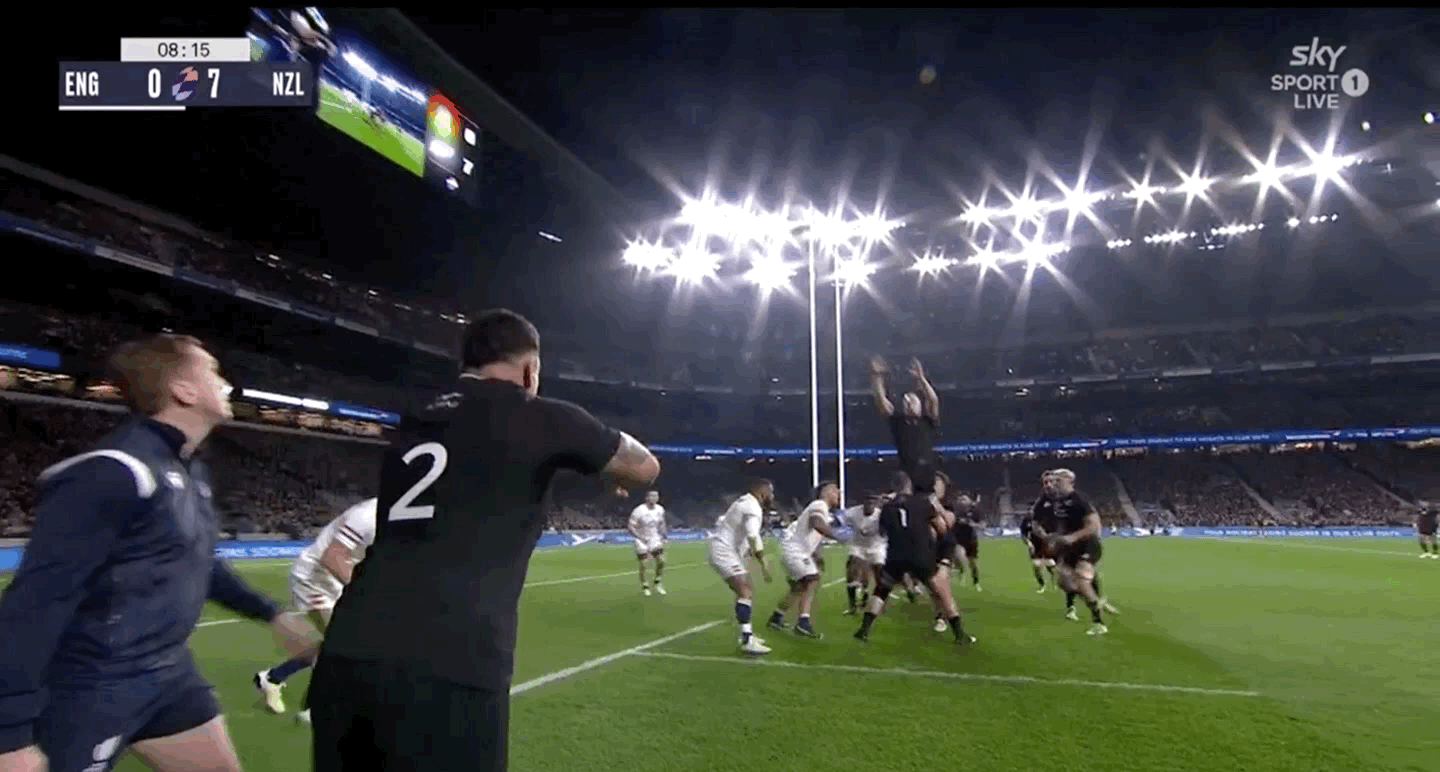
Or take this example against England off a scrum launch in the first 10 minutes. The Kiwis have clearly identified that England use a narrow defensive press on the first phase. To expose this Caleb Clarke has kept his width hugging the touchline. This allows the winger to attack the catch zone from out to in and take the ball two handed before setting off on a mazy run which takes play into the England 22.
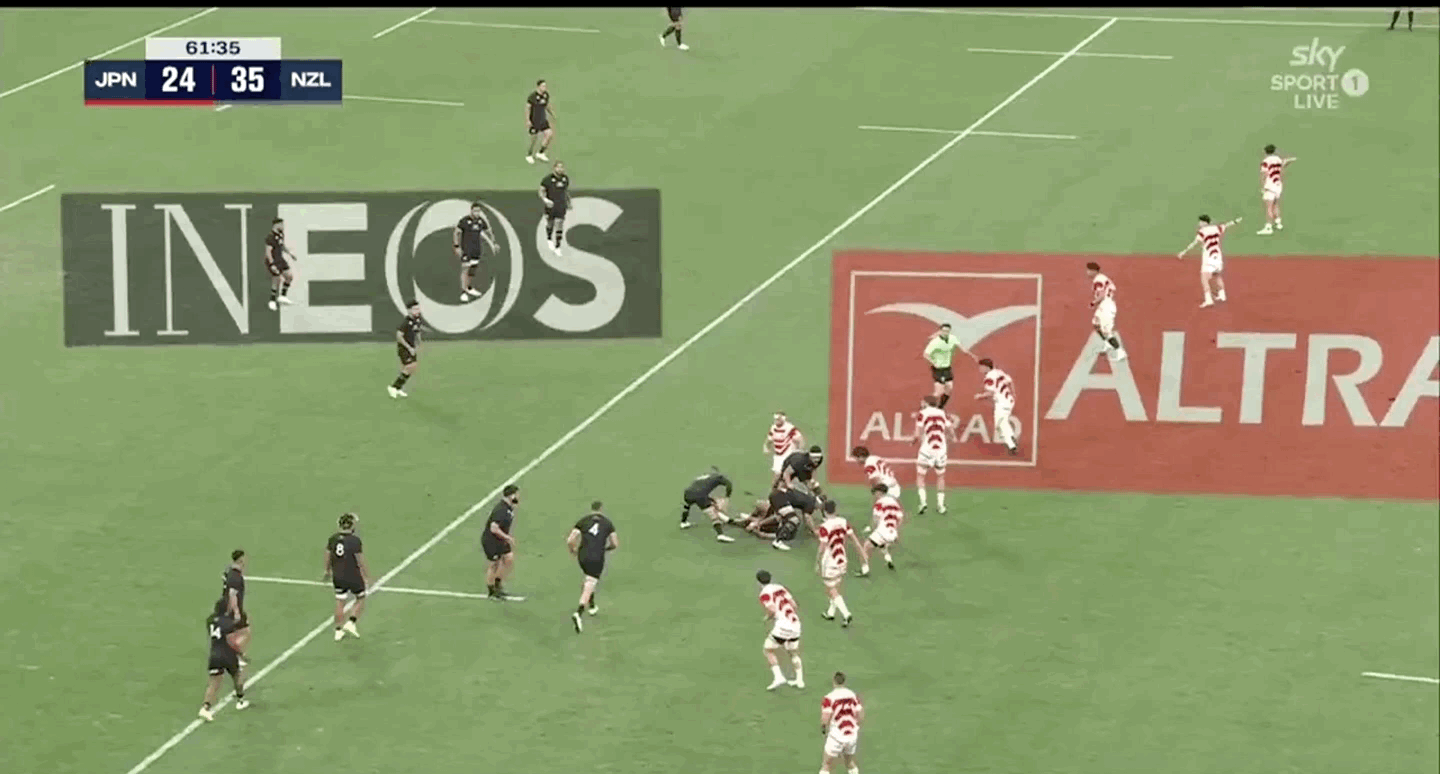
But the cross field kick wasn’t solely an attacking weapon with the All Blacks also using it as a more aggressive exit option. This example versus Japan shows how they looked to play to their strengths and create aerial competitions on their exit.
Mastering the Driving Maul
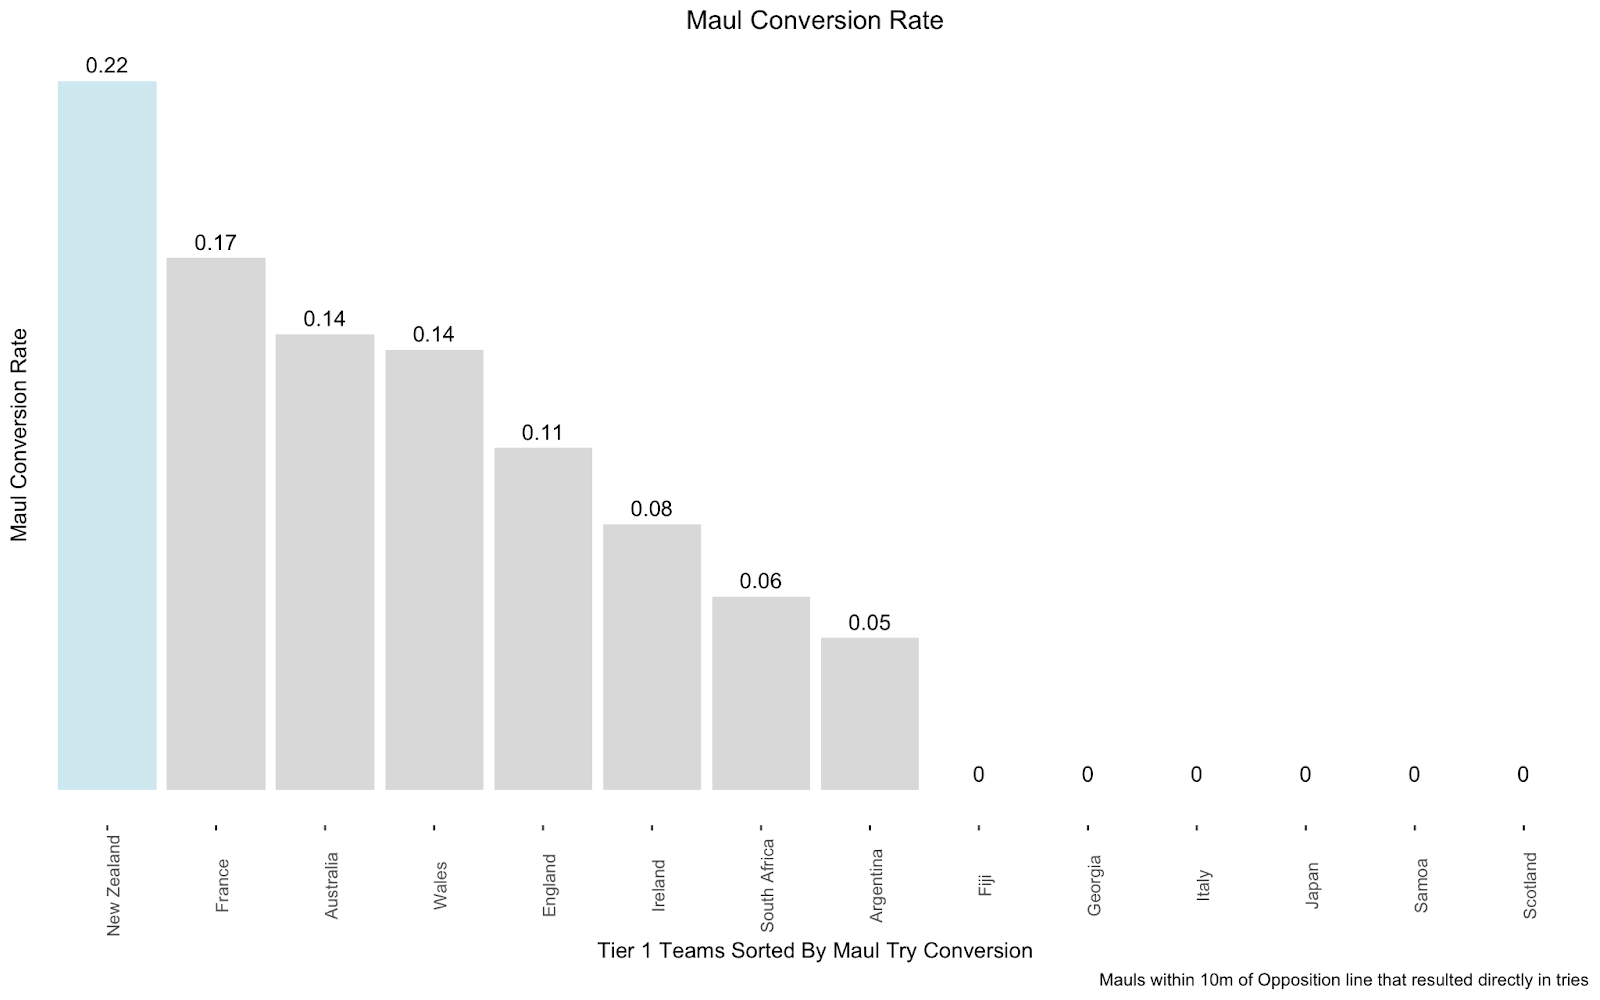
A lot of the strengths we have covered so far look at the All Blacks back line but a lot of their strength revolves around their forward pack and especially their driving maul. No other side within Tier 1 rugby is better at scoring tries directly from mauls within 10m of the Opposition line.
So how did the All Blacks build this devastating weapon?
A big part of this dominance was achieved by double stacking. The idea is to slide a lifter behind the jumper protecting the ball from the defence. Stacking also boosts the stability of the maul before supporting the jumper before the team begins their drive. The tactic exploits a grey area in rugby, where if there is access to the jumper as he lands then it is legal otherwise sides can be penalised for obstruction.
This example from their game against Wales shows New Zealand’s intent with their double stack. Ardie Savea sliding behind Papalii from the back lifter . The number 8 looking to get his shoulder through the gap and dominate the space in behind jumper. Also note the twist in the All Black lift and how he looks to drop Dalton Papalii behind him. This space is known as in the pocket and is another way that New Zealand look to give their jumper space and time to set.
We see the same pattern with this try against England. Scott Barret is the stacker on this occasion with the All Black 6 stepping behind Brodie Retallick to allow the pivot. The pivot in a maul is an important weapon as it allows sides to avoid the opposition’s strength. England’s maul defence is a bit disjointed with players hitting at different angles, but New Zealand are able to navigate through with Scott Barrett turning the maul while the remaining All Blacks drive infield.
Arguably however it was their maul defence which was more impressive with the All Blacks conceding just 2 tries directly from a maul in the last two years, including the one this past weekend. We can see two of the foundations behind this strength in this maul against Australia.
First, the New Zealand team look to bind up with each other (red circle) as if they were in a scrum, this connection helps preserve their strength and means that they are able to direct the power in the same direction.
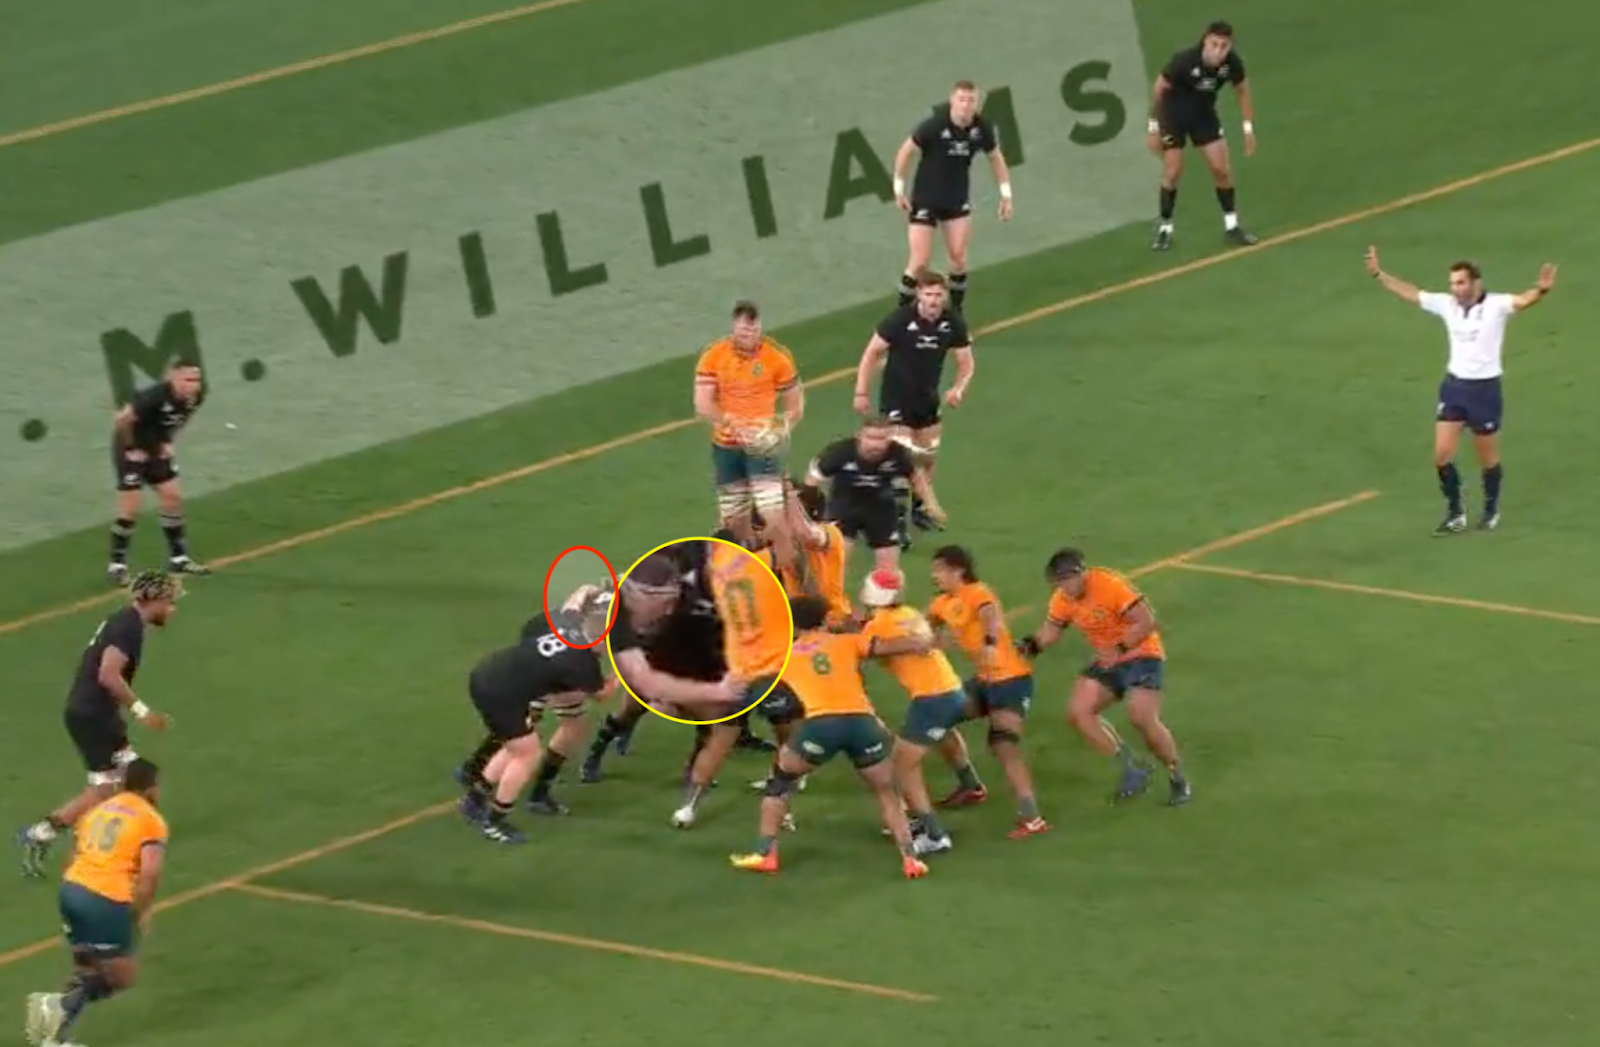
Second, they also make early contact with the Australian lifters. This is shown in the zoomed yellow circle, with Brodie Retallick grabbing the front lifter. This binding helps the second row preserve space between himself and the Australian pod allowing him to catapult into the maul.
We can see the effectiveness of this catapult by looking at Australia 17’s body position. Initially both players try to race to fill the space and get as low as possible. Brodie Retallick wins the race and he is able to drive under Taniela Tupou. This all help prevent the Australian’s getting any momentum and they are forced to play away having made no ground.
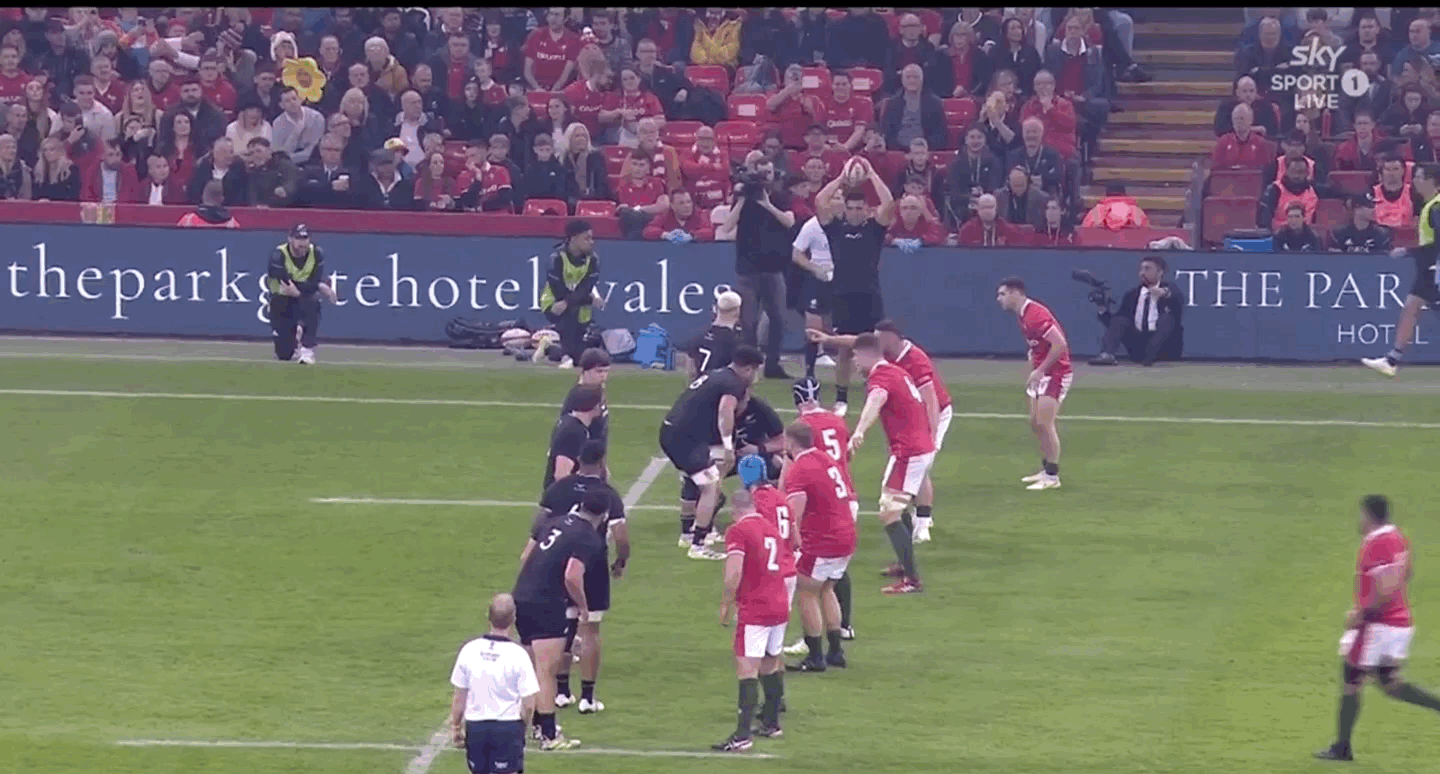
We can see similar tactics against Wales. Again New Zealand bind early between the New Zealand players before the contact. We also see the early binding on the back lifter, and New Zealand are able to win the initial engagement. Wales do try and spin into the openside but New Zealand are able to pin them in. The actions of 6 Shannon Frizzel are important here with a long bind and strong angle preventing Wales access to the midfield or any go forward.

All Blacks Mission To Shock The World
New Zealand are not near the heights of the 2015 dynasty but despite this it would be folly to write them off from World Cup glory. Their performance against the Springboks on Saturday was a real statement of intent. Since 2019 the All Blacks have the third best win rate, driven by an attack which has scored 32.8 points per game, 3 points better than France who sit second in Tier 1 games. Defensively they sit second best to Ireland’s 16.6 points per game conceding a miserly 19.8 points per game against Tier 1 opponents. All this points to a side who should strike fear into any team they face at RWC 2023.
